
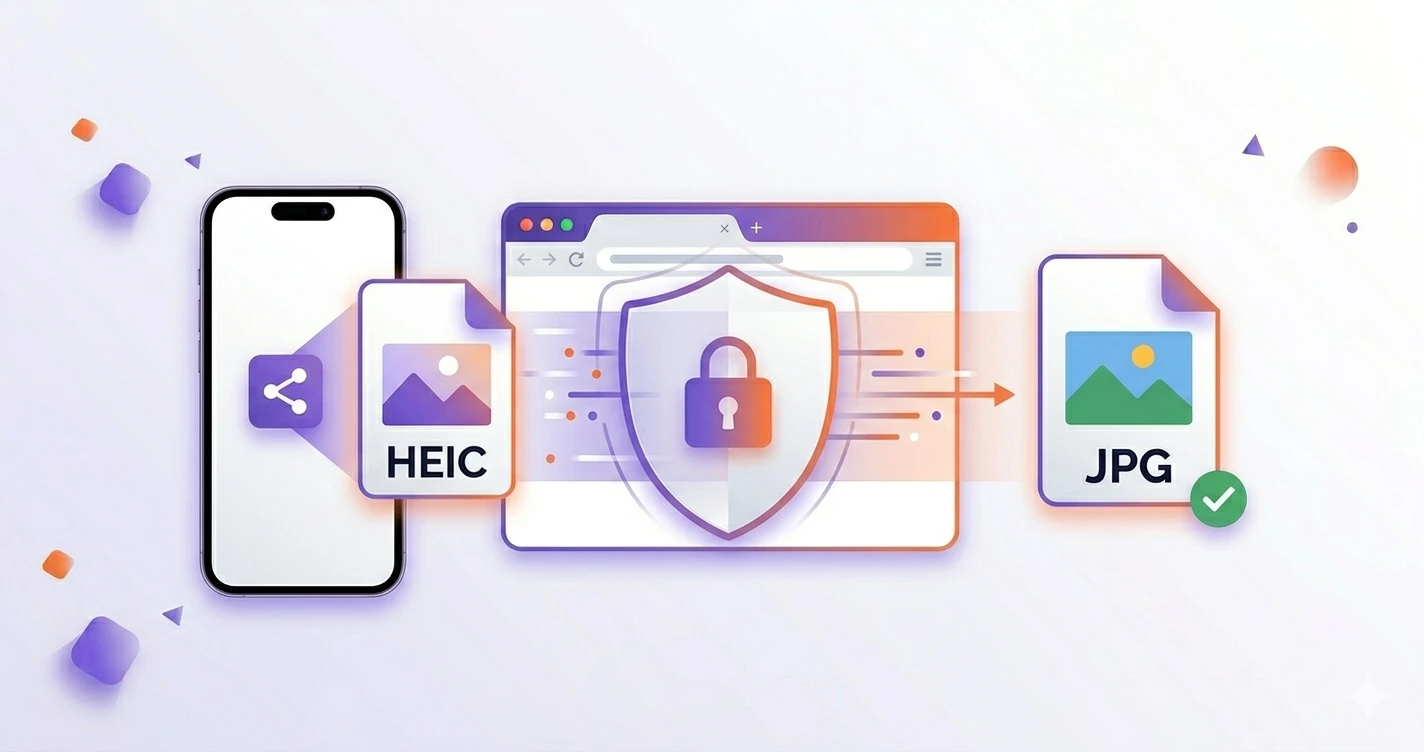
Let’s be real for a second. You are filling out an important online application—maybe it is for a new job, a visa, or a strict government portal. You take a perfectly clear photo of your ID using your iPhone, tap “Upload,” and immediately get slapped with a glaring red error: “Unsupported File Format. Please upload a valid JPG or PNG.”
You check the file on your phone. It is a .heic.
If you use an Apple device, you have probably run into this headache more times than you can count. While Apple’s default image format is a masterpiece of modern compression, its compatibility outside the Apple ecosystem is, quite honestly, a disaster. Windows PCs struggle with it, legacy web browsers refuse to render it, and thousands of official web portals flat-out reject it.
Here is the good news: you don’t need to pay for a desktop app or upload your sensitive personal documents to a shady cloud server. You can learn exactly how to convert HEIC to JPG directly in your browser, keeping your data strictly on your own device. Let’s break down why this format exists, why compatibility matters, and how to fix it in seconds.
What exactly is a HEIC file? (And why Apple loves it)
To understand why your photos are suddenly getting rejected, we need to look at why Apple made the switch in the first place.
HEIC stands for High-Efficiency Image Container. It is Apple’s proprietary variant of the HEIF (High Efficiency Image File Format) standard, which is heavily based on modern video compression technology (HEVC/H.265). Apple adopted this as the default camera format back in 2017 with iOS 11.
Between you and me, Apple didn’t do this just to annoy Windows users. They did it because HEIC is incredibly smart. It can compress an image to about half the file size of a traditional JPG while retaining the exact same—or often better—visual quality. It can also store multiple images in one file (which is how “Live Photos” work) and preserve 16-bit color depth.
But there is a catch. Because the underlying technology involves complex licensing, software developers outside of Apple have been slow to adopt it. In fact, if you try to open a HEIC file natively on a fresh Windows installation, Microsoft might actually prompt you to pay $0.99 in their App Store just to download the necessary codec to view your own photos. That is deeply frustrating.
The HEIC vs. JPG showdown
So, why do we constantly need to bounce back to JPG? It all comes down to one word: Universality.
JPG (or JPEG) has been the undisputed king of digital images since the early 1990s. It might not be as space-efficient as HEIC, but it is universally understood by every operating system, web browser, smart TV, and basic digital photo frame on the planet.
Here is a practical breakdown of how they compare:
| Feature | HEIC (Apple’s Default) | JPG (The Universal Standard) |
|---|---|---|
| Compression Efficiency | Exceptional (Very small file sizes) | Average (Larger file sizes) |
| Universal Compatibility | Poor (Often rejected by non-Apple devices) | 100% Universal (Works everywhere) |
| Color Depth | Up to 16-bit (Massive color range) | 8-bit (Standard color range) |
| Live Photos/Animations | Yes | No |
| Web Browser Support | Rarely supported natively | Fully supported across all browsers |
Pro-Tip: If you are archiving photos on a hard drive purely for storage, keeping them as HEIC saves massive amounts of space. But the moment you need to share, upload, or print those photos outside of the Apple ecosystem, converting them to JPG is the only stress-free path forward.
How to convert HEIC to JPG safely in your browser
When you realize you need a JPG, your first instinct is usually to Google a free converter. But think about what you are usually converting: photos of your passport, family pictures, or financial documents.
Uploading these highly personal images to a random remote server is a massive privacy risk. Most cloud converters hold onto your files, and you have no idea who has access to them.
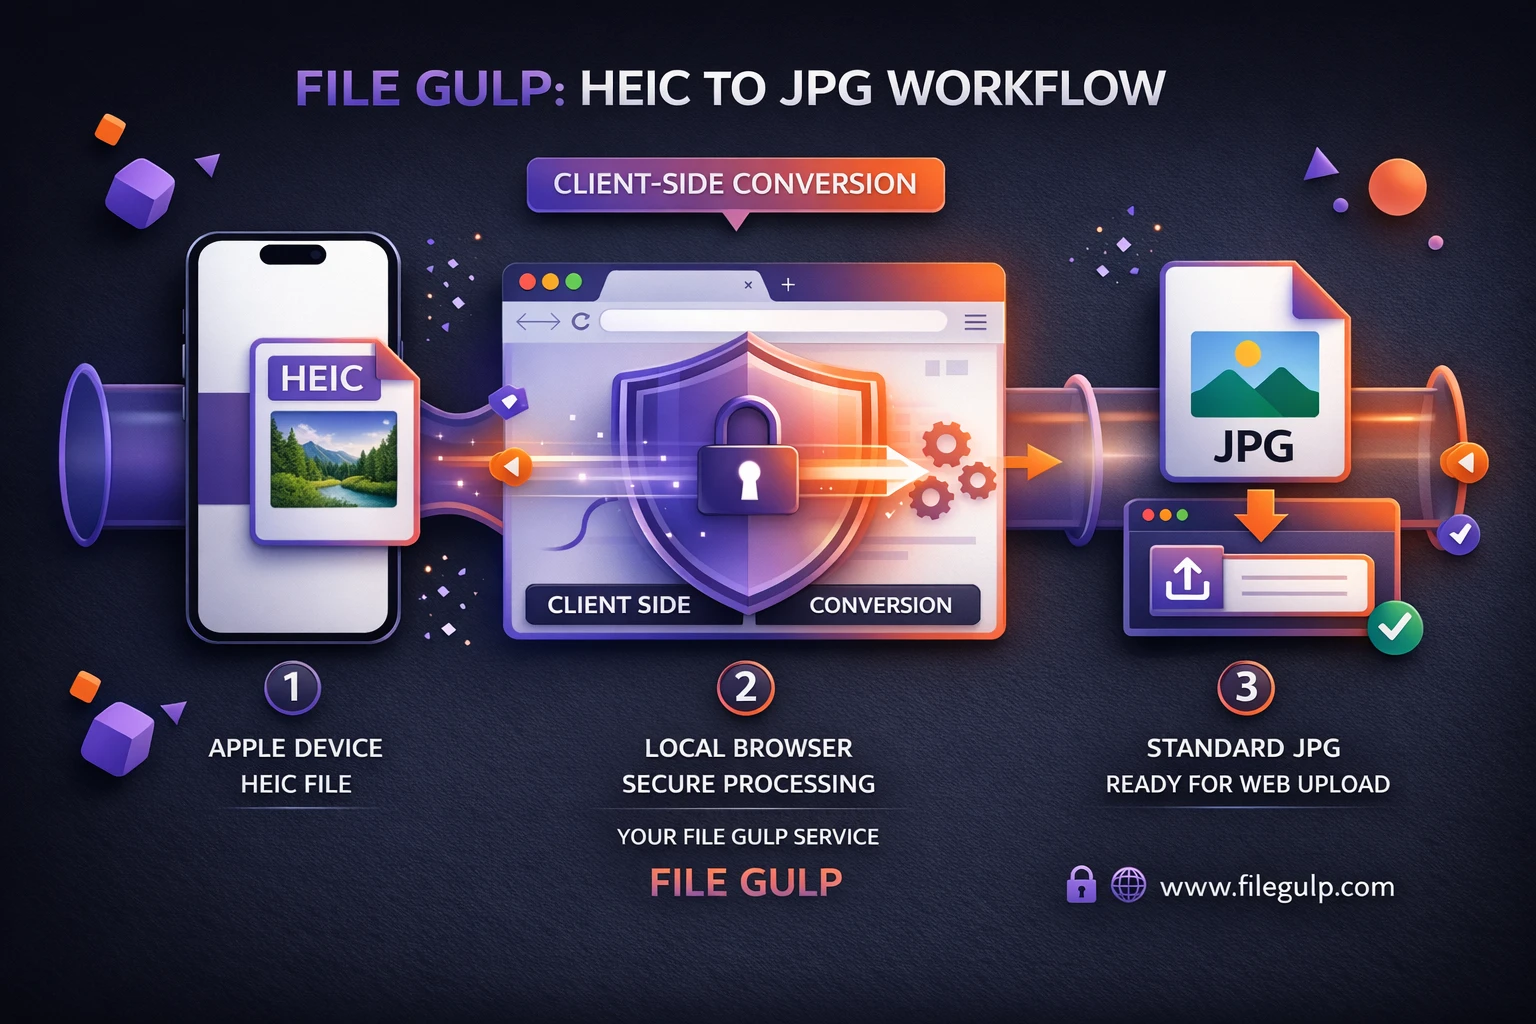
Instead, you should handle this locally. Modern browser APIs allow web applications to process files right on your own device. Your files never travel across the internet. It is secure, and because there is no upload time, it is incredibly fast.
Here is the exact, private workflow:
- Open the local converter: Head over to our client-side HEIC to JPG tool.
- Select your photos: You can drag and drop a single file or a whole batch of iPhone photos directly into the browser window.
- Convert instantly: Because the processing happens locally on your computer’s processor, the conversion is near-instantaneous.
- Save the universally compatible file: Download your new JPGs. They are now ready to be uploaded to any portal, emailed to a PC user, or embedded into a document without triggering an error.
Advanced workflows: What happens after the conversion?
Converting the format solves the compatibility issue, but moving from a highly compressed HEIC to an older JPG format often creates a secondary problem: File size bloat.
Because JPG doesn’t compress data as aggressively as HEIC, you might find that a 2MB HEIC photo suddenly turns into a 5MB or 6MB JPG. If that job portal that rejected your HEIC file also has a strict “Max File Size: 2MB” rule, you are still stuck.
Since you are already using a browser-based, client-side toolkit, you can chain a few steps together to get the perfect file:
1. Right-size the image
Modern iPhones shoot at massive resolutions (often 48 megapixels on newer Pro models). You rarely need an image that large for a web upload. Run your newly converted JPG through our Resize Image tool to scale the width down to a more sensible size, like 1920px or 1280px. This dramatically cuts down the file weight without making it look blurry on a screen.
2. Compress the final JPG
Once the dimensions are correct, drop the file into the Compress Image tool. This will optimize the internal data of the JPG, stripping out unnecessary invisible data and applying smart lossy compression. You can often reduce the file size by 60% or more while keeping the image looking crisp and professional.
3. What if you need transparency?
It is rare for standard camera photos, but sometimes graphic designers export visual assets in the Apple ecosystem as HEIC files with transparent backgrounds. JPG does not support transparency; if you convert a transparent HEIC to JPG, the background will turn solid white.
If you need to preserve that invisible background but still require better compatibility, you should use the HEIC to PNG converter instead. PNGs are universally supported and retain full transparency support. (Read more about PNG specifications at the W3C).
A quick fix for the future: Change your iPhone settings
If you find yourself constantly having to convert HEIC to JPG on Windows or for web uploads, you might want to stop the problem at the source. You can actually tell your iPhone to stop using HEIC altogether.
Honestly, I only recommend this if you have plenty of storage space on your phone, because your photo library will take up significantly more room.
If you want to make the switch:
- Open the Settings app on your iPhone.
- Scroll down and tap on Camera.
- Tap on Formats.
- Change the selection from High Efficiency to Most Compatible.
From that moment on, every photo you take will be saved as a standard, universally accepted JPG.
Keep your photos private and compatible
Technology is supposed to make our lives easier, but the format wars between tech giants often leave everyday users caught in the crossfire. You shouldn’t have to jump through hoops or compromise your digital privacy just to upload a photo of your resume.
The next time an application portal barks at you for uploading a .heic file, skip the sketchy cloud tools. Open a secure, client-side tool, convert it locally, and move on with your day.
Frequently Asked Questions
Does converting HEIC to JPG reduce image quality? Because you are converting from one lossy format to another, there is technically a microscopic loss in data. However, for everyday use—like uploading documents, posting on social media, or printing standard photos—the visual difference is completely unnoticeable to the human eye.
Can I convert multiple HEIC files at the same time? Yes. Client-side browser tools can handle batch processing. You can drag dozens of HEIC files into the tool at once, and your computer’s local memory will process them sequentially without requiring you to wait for massive network uploads.
Why can my Mac open HEIC files but my Windows PC cannot? Apple created deep, native OS-level support for HEIC starting with macOS High Sierra and iOS 11. Microsoft Windows does support HEIC, but it often requires downloading an optional HEVC Video Extensions package from the Microsoft Store, which isn’t installed by default on many machines.
Is it better to convert HEIC to JPG or PNG? It depends entirely on your needs. If it is a standard photograph (like a landscape or a selfie), JPG is the best choice because it keeps the file size reasonable. If the image contains text, sharp graphics, or requires a transparent background, you should convert it to PNG.
Are client-side converters really private? Absolutely. Traditional converters require you to upload your image to their server, where it is processed and sent back. Client-side tools download the processing application directly to your browser tab. The conversion happens entirely on your own CPU, meaning your photos never leave your device.