
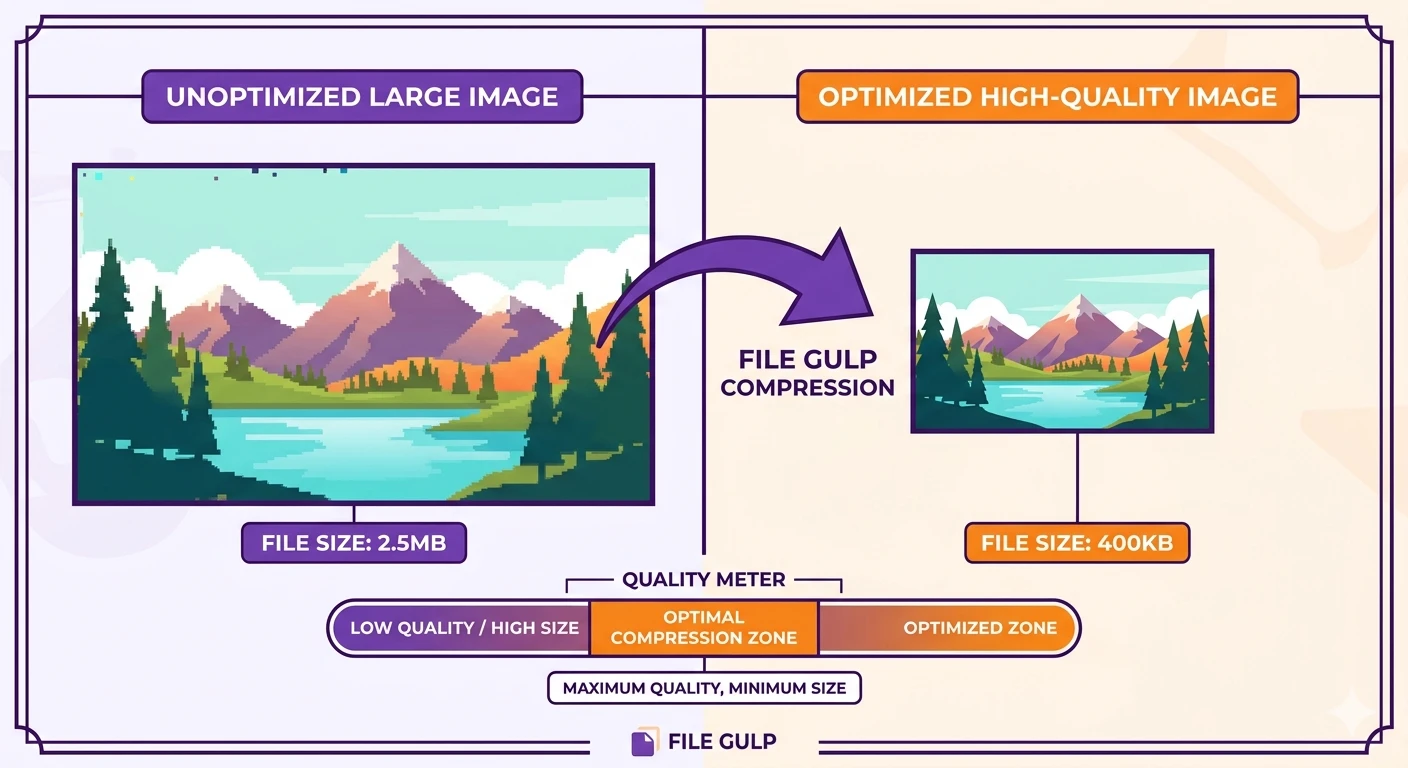
Let’s be honest: nothing kills a website’s vibe—or drains a mobile data plan—faster than a massive, unoptimized image that takes five seconds to load. On today’s web, homepages often ship around a megabyte of images at the median, so trimming image bytes pays real dividends.
Whether you are building a website, sending a portfolio via email, or just trying to free up space on your phone, you need your images to be lightweight. But there is a catch: you don’t want them looking like a blurry mosaic of pixels.
Finding that sweet spot between a tiny file size and a crisp, beautiful image isn’t magic. Let’s break down exactly how you can shrink your images without ruining them.
The Secret Everyone Skips: Resize Before You Compress
Here is the biggest mistake people make: they take a 12-megapixel photo straight from their phone (usually around 4000 x 3000 pixels), run it through a compressor, and wonder why it’s still 2MB.
If you are uploading an image to a blog post, the maximum width it will ever display is likely around 800 to 1200 pixels. Keeping those extra 3000 pixels is just carrying dead weight.
The golden rule of image optimization:
- First, use a Resize Image tool to scale down the actual dimensions (width and height) to match where the image will be used.
- Then, compress the resized image.
Just by doing step one, you often cut the file size by 70% before compression even starts.
Lossy vs. Lossless: What’s the Difference?
When you finally hit the “compress” button, algorithms do the heavy lifting behind the scenes. They generally fall into two categories: Lossy and Lossless. Understanding this difference is how you keep your images looking sharp.
| Feature | Lossy Compression | Lossless Compression |
|---|---|---|
| How it works | Permanently deletes minor color details your eye can’t easily see. | Rewrites the file’s code more efficiently without dropping any pixels. |
| File Size Reduction | Massive (often 60% to 90% smaller). | Modest (usually 10% to 30% smaller). |
| Visual Quality | Slight drop in quality (unnoticeable if done right). | 100% identical to the original. |
| Best Used For | Web photos, blog banners, social media uploads. | Logos, text-heavy graphics, medical imaging, professional print. |
Pro Tip: For 95% of web use cases, Lossy is the way to go. If you use a good tool and rely on modern web guidance, the human eye cannot tell the difference between a 2MB original JPG and a 300KB lossy-compressed version.
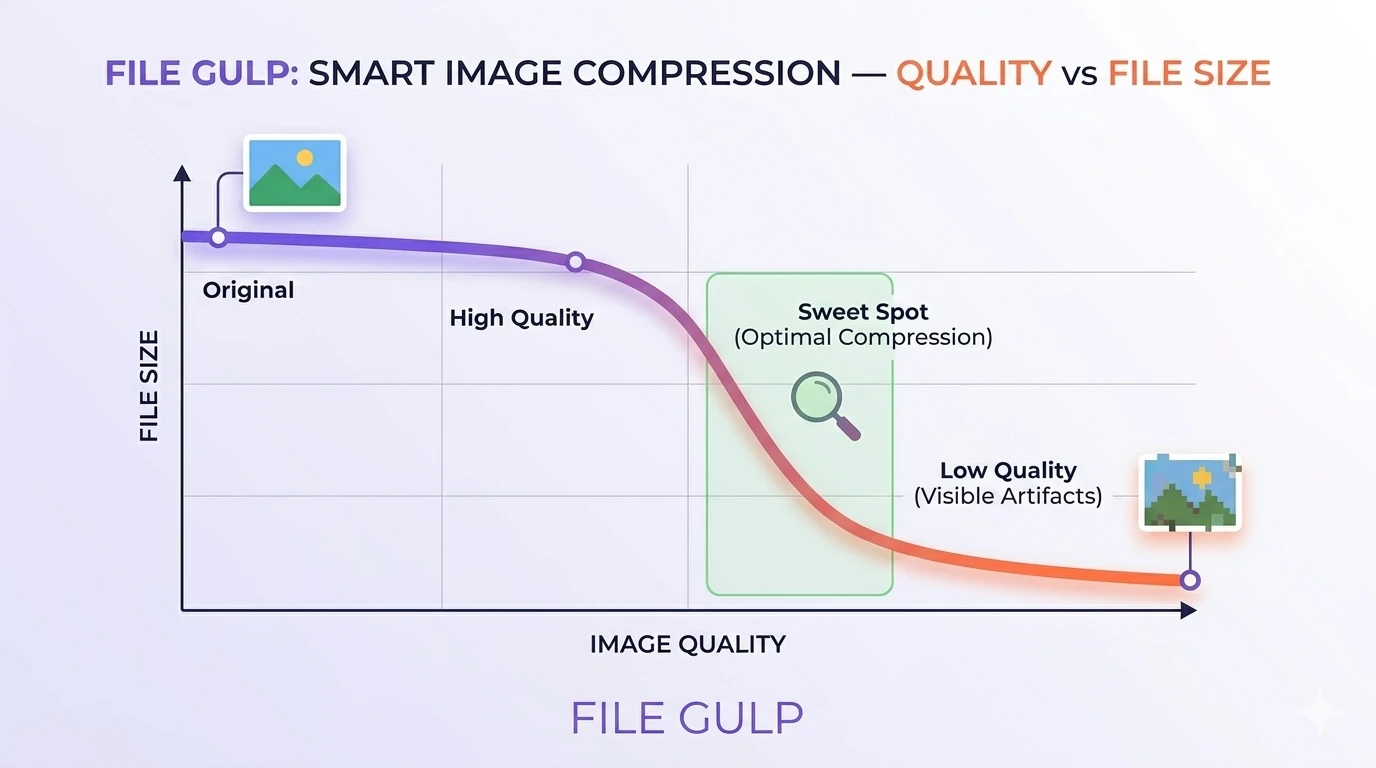
Choosing the Right Starting Format
Sometimes the problem isn’t the compression; it’s the format itself. If you try to compress the wrong file type, you are fighting an uphill battle.
- Photographs: Always use JPG, WebP, or AVIF. If you have a massive PNG photo, use a PNG to JPG converter first.
- Graphics with Transparency: Use PNG or lossless WebP. If you have a logo with a clear background, saving it as a JPG will force a white background behind it.
- iPhone Photos: Apple uses HEIC, which is great for iOS but terrible for web compatibility. Run them through a HEIC to JPG tool before optimizing them for a website.
- Next-Gen Web Formats: AVIF and WebP often beat older formats on size at similar visual quality. If you downloaded one and your editor doesn’t support it, grab a WebP to JPG or AVIF to JPG converter.
A Practical, Privacy-First Workflow
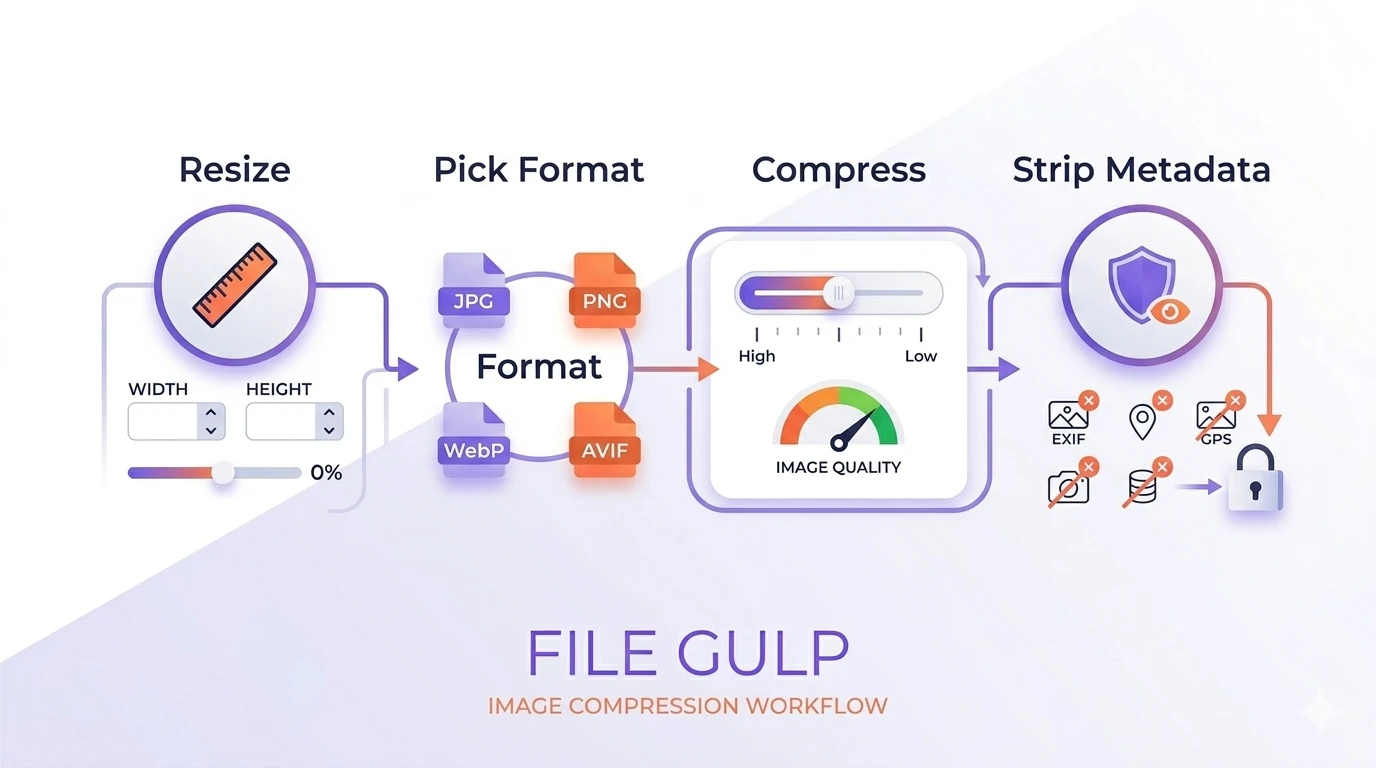
If you want to optimize a batch of photos right now without uploading your private images to a random server, here is your client-side workflow using File Gulp:
- Size it right: Drop your image into Resize Image and set sensible dimensions (e.g., 1200px for a blog).
- Fix the format: If the format doesn’t match the content, convert it using our tools (like JPG to PNG).
- Squish it down: Put that resized image into the Compress Image tool. Play with the quality slider and preview at 100% zoom. Stop lowering the quality the moment you see halos around edges or blockiness in skies.
- Clean it up (Optional): Want to make sure your location data (GPS) isn’t attached to the photo? Run it through Remove Image Metadata to strip hidden EXIF data and save a few extra kilobytes.
Mini FAQ
What does “visually lossless” mean? It looks the same to observers under normal viewing—even if, at the byte level, information was discarded. The target is perceptual quality, not pixel identity.
Is AVIF safe to use? Yes for most modern audiences. Support across current browsers is very broad. You can always check Can I Use if you need to support older environments.
Does stripping EXIF metadata hurt quality? No. EXIF data lives in hidden metadata segments, not the pixel data. Removing it won’t change how the image looks, but it will protect your privacy.
Try it now
- Resize: Resize Image
- Compress: Compress Image
- Format fix: PNG to JPG · JPG to PNG · HEIC to JPG · AVIF to JPG
- Privacy: Remove Image Metadata